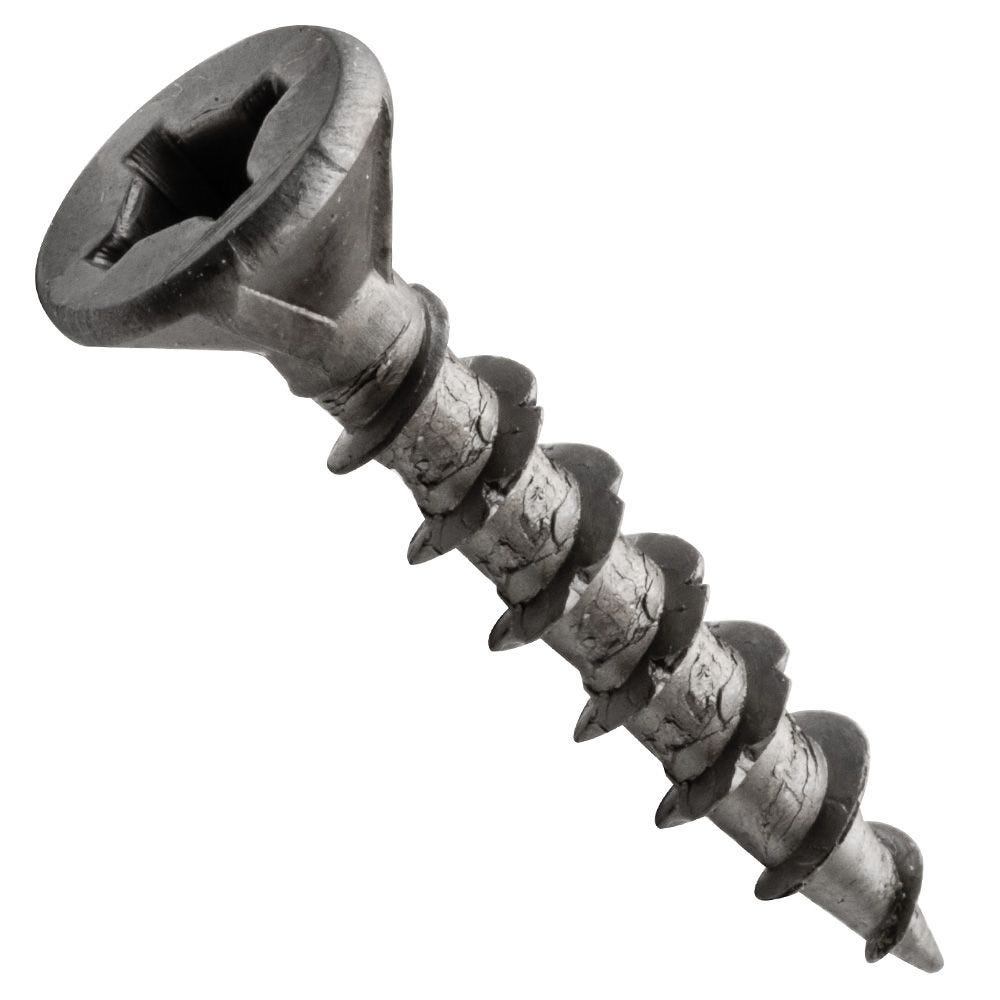
Wood screws are one of the most versatile and commonly used fasteners. They’re ideal for a wide range of applications, from building decks to furniture making. And while they’re easy to use, there’s one important step that is often overlooked: countersinking.
Countersinking is the process of drilling a hole that is slightly larger than the diameter of the screw, so that the head of the screw sits flush with or below the surface of the material. It’s an important step because it ensures a strong connection and prevents the screw from working its way out over time. Here’s a quick guide to countersinking wood screws like a pro.
Wood screws are one of the most versatile fasteners used in woodworking. Their simple design and relatively easy installation make them a popular choice for many applications. One thing that is often overlooked, however, is the importance of countersinking wood screws.
Countersinking allows the screw head to sit flush with the surface of the material, which gives your project a more polished look. In addition, it prevents the screw from protruding and potentially causing injury. It also helps to prevent splitting when installed near the edge of a piece of wood.
There are two main types of countersinks: standard and pilot point. Standard countersinks have a sharp point that penetrates the surface of the material before the threads engage. Pilot point countersinks have a small pilot hole drilled first, which helps to prevent splitting.
When choosing a countersink bit, be sure to select one that matches the diameter and thread pitch of your wood screw. Countersink bits come in various sizes, so it’s important to get one that’s just right. For example, if you’re using #8 x 1-1/4″ screws, you’ll need an 8mm or 5/16″ bit with coarse (not fine) threads.
Installing a wood screw with a countersink is easy once you’ve selected the proper size bit. Simply drill a hole at your desired depth (usually about 1/8″ deeper than the length of your screw), then insert the bit into your drill and tighten until snug. Next, align your screw with the hole and drive it in until tight – but be careful not to overdo it!
If you strip out the pilot hole, you’ll have to start over again from scratch…
How to Countersink Wood Screws
Self Countersinking Screws
Most screws have a head that sits above the surface of the material you’re screwing into. But sometimes you need a countersunk screw, where the head sits flush with (or below) the surface. This is especially common when working with wood, as it gives a nicer finish.
Countersunk screws are also known as “self-countersinking” screws, because they can sink into the material without any special preparation. You just need to drill a pilot hole that’s slightly smaller than the diameter of the screw shank (the part below the head).
When driving a countersink screw, it’s important not to over-tighten it.
If you do, the head may sink too far below the surface or even break off entirely. Start by tightening it until the head is flush with the surface, then go another quarter turn or so. That should be plenty!
Credit: www.rockler.com
How Do You Countersink a Wood Screw?
When countersinking a wood screw, you will first need to drill a pilot hole that is slightly smaller in diameter than the screw. Next, insert the screw into the pilot hole and tighten it until the head is flush with the surface of the wood. Finally, use a countersink bit to enlarge the top of the pilot hole so that the head of the screw sits below the surface of the wood.
What is the Countersink Angle on Wood Screws?
There are a few different types of wood screws, each with their own countersink angle. The most common type is the flat head screw, which has a 90 degree countersink angle. This means that when you drive the screw into the piece of wood, the top of the screw will be flush with the surface of the wood.
Other types of wood screws include pan head screws and oval head screws. Pan head screws have a slightly smaller countersink angle of 82 degrees. This allows them to sit slightly below the surface of the wood, which can be useful in some applications.
Oval head screws have an even smaller countersink angle of 60 degrees. These screws sit further below the surface of the wood and are often used for decorative purposes.
When choosing a screw for your project, it’s important to consider what type of finish you want on the screw heads.
If you want them to be flush with the surface, then you’ll need to use flat head or pan head screws. If you want them to sit below the surface, then you can use either ovalhead or counterbore screws.
What is a Countersink Wood Screw Used For?
A countersink wood screw is used to create a flush surface on top of a wooden workpiece. The head of the screw sits below the surface of the wood, and the tapered body of the screw pulls the two pieces of wood together.
How Do You Countersink a Screw Without a Countersink?
If you’re looking to countersink a screw without a countersink, there are a few different options you can try. One is to use a drill bit that is slightly larger than the diameter of the screw. Another option is to use a chisel or counterbore bit.
Finally, you can also try using a file or sandpaper to create a beveled edge on the screws head.
Conclusion
Wood screws are one of the most commonly used fasteners. They are easy to use and provide a strong hold. When using a wood screw, it is important to countersink the screw so that the head is flush with the surface of the wood.
Countersinking also allows the screw to be removed if necessary.